
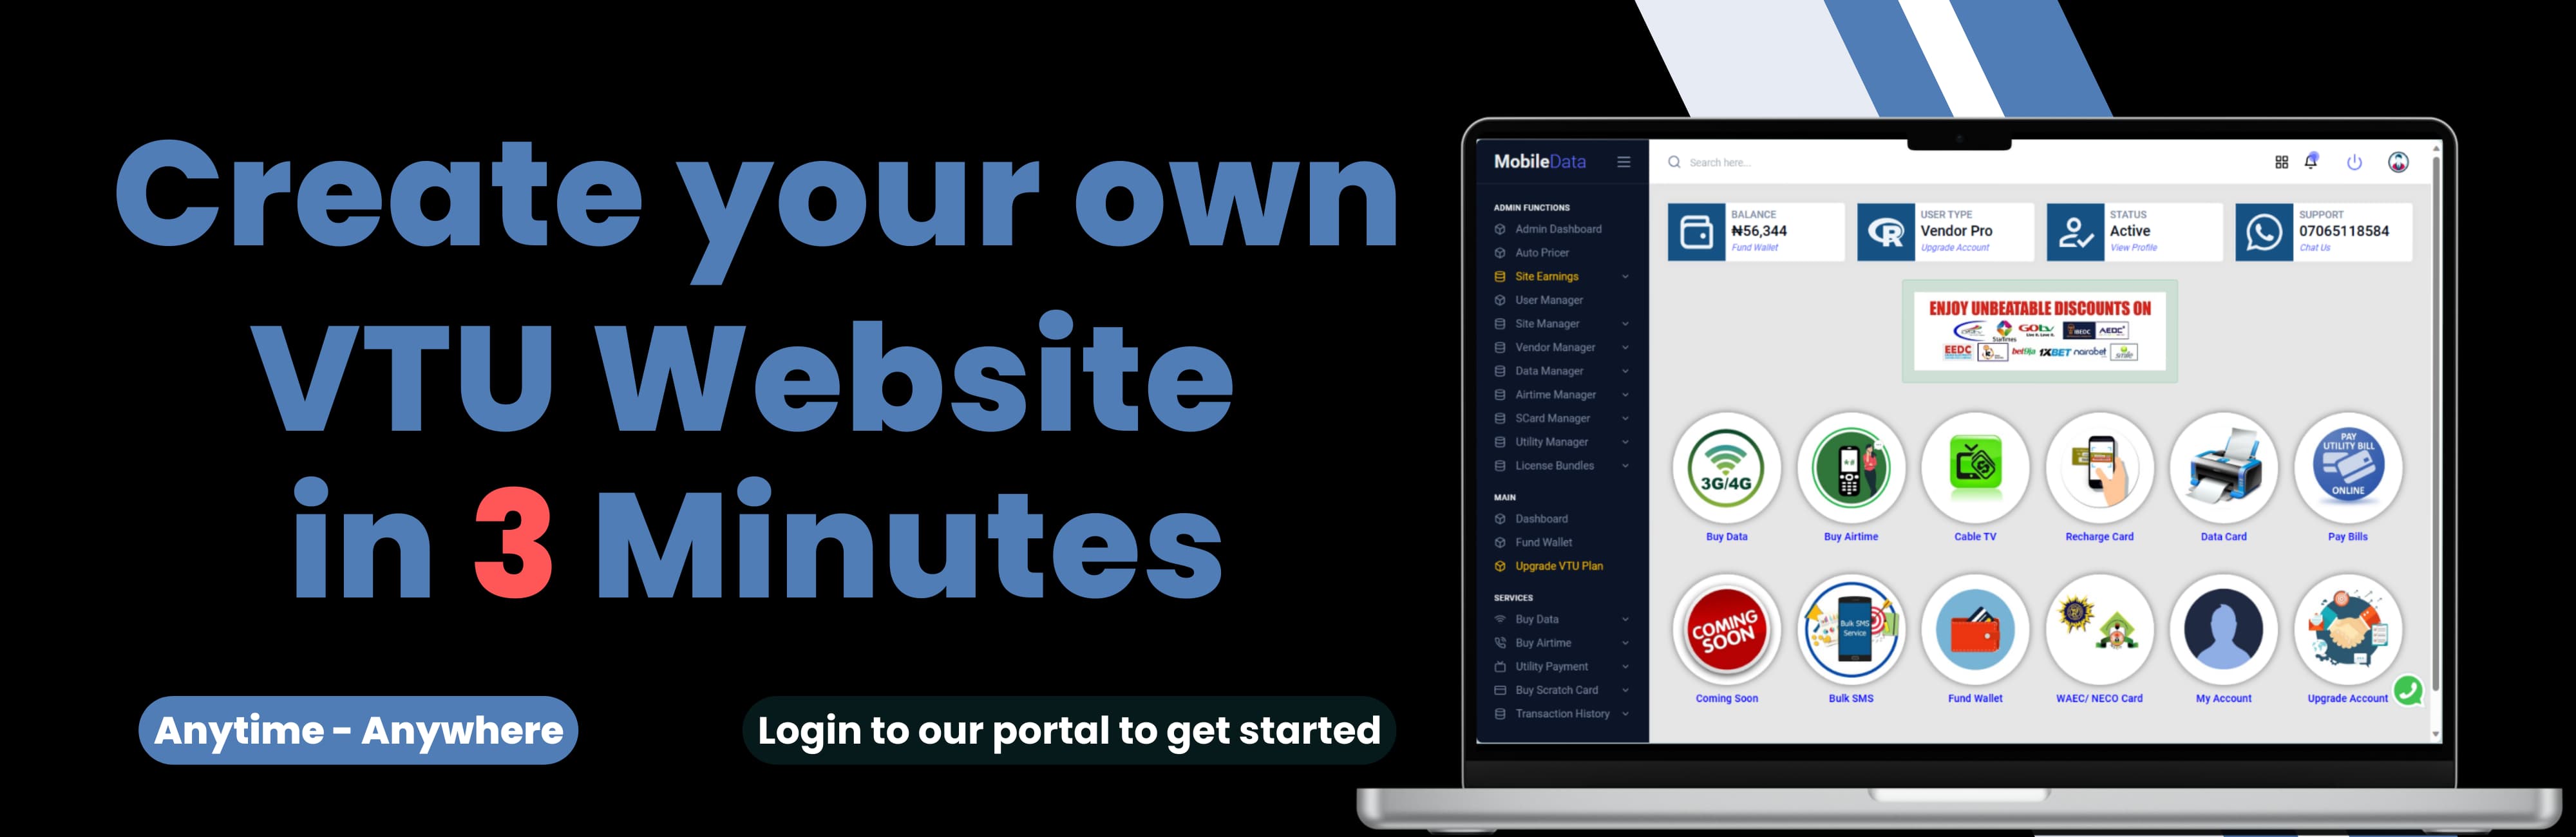

How to create a VTU Website in 3 Minutes
VTU Business remains one of the most lucrative online business anyone can venture into; however, creating a VTU website can be a daunting task, especially if you have limited technical knowledge or time. But with the help of our VTU Portal Creator, you can now create your own VTU website in just 3 minutes. We run a user-friendly platform that allows you to easily build and customize your VTU website, without the need for any coding or design skills. In this article, I will guide you through the step-by-step process of creating a VTU website, and how it can benefit your business or organization. Plus, I will also show you how to carry-out seamless transactions. So, if you're ready to take your VTU business to the next level, keep reading!
The Benefits of building a VTU website using our VTU Portal Creator
- Our VTU Portal Creator is incredibly user-friendly and does not require any technical knowledge or coding skills. This means that even if you are a beginner, you can easily create a professional-looking VTU website in just a matter of minutes.
- Our platform also offers a wide range of customization options, allowing you to personalize your website to suit your brand identity and business needs. You can easily customize the look, feel, and images to create a unique and visually appealing website.
- In addition, our VTU Portal Creator integrates seamlessly with Service Providers, making it easy for your customers to complete transactions directly on your website such as buying Data, Airtime VTU, Airtime Recharge Cards, Paying Bills, Buying Exam Cards, etc. This eliminates the need for manual data entry and streamlines the process, enhancing the overall user experience.
- Free Domain Name: One of the initial hurdles in launching a VTU Portal is securing a domain name. With our system, every VTU website you create comes with a complimentary domain name, eliminating the need for separate domain purchases. This not only saves money but also simplifies the setup process.
- Free Hosting: Hosting costs can add up, especially as your VTU portal gains traction. Our VTU Portal Creator takes care of this concern by providing fully managed hosting for all created websites. Say goodbye to monthly hosting fees and technical worries. We ensure your website runs smoothly without additional expenses.
- Text Message Purchases: Our VTU Portal Creator introduces a groundbreaking feature that simplifies VTU service purchases. Users can buy VTU services by sending a straightforward text message to our AI-powered server. This text-based approach streamlines the process for both vendors and buyers, enhancing user convenience.
- No Start-up Deposit: Traditionally, vendors were required to deposit a fixed sum of money to start processing VTU requests. Our system shatters this barrier. You can jump into the VTU business without the burden of an initial financial deposit, offering financial freedom and flexibility.
- Easy Setup in Three Steps (No Coding Required): Our system is designed with user-friendliness in mind. You don't need to be a coding expert to create a VTU website. The entire setup process involves just three simple steps:
- Register,
- Provide the required information,
- Submit.
- Rewards for Marketers: Earn as You Refer! If you're a marketer, our VTU Portal Creator offers a unique opportunity. You can earn rewards by referring people to use the software. This means that not only can you build your VTU portal effortlessly, but you can also earn income by spreading the word about our system.
Step-by-step guide on how to create a VTU website
Now that you understand the benefits of using our VTU Portal Creator for your VTU website, let's dive into a step-by-step guide on how to create your website using this platform.
Step 1: Sign up for a user account
Click Here to Register or Login. You will be guided through a simple registration process where you will need to provide basic information about your business.
Step 2: Provide the needed information
Once you have successfully registered, browse through the menu in the dashboard and click on 'Become a Vendor'. You will be presented with a form which demands basic information such as the type of VTU Portal you need, a name for the website, preferred website address, a website design/theme, etc. Simply, provide these information and hit the SUBMIT button.
Step 3: Preview and Publish your website
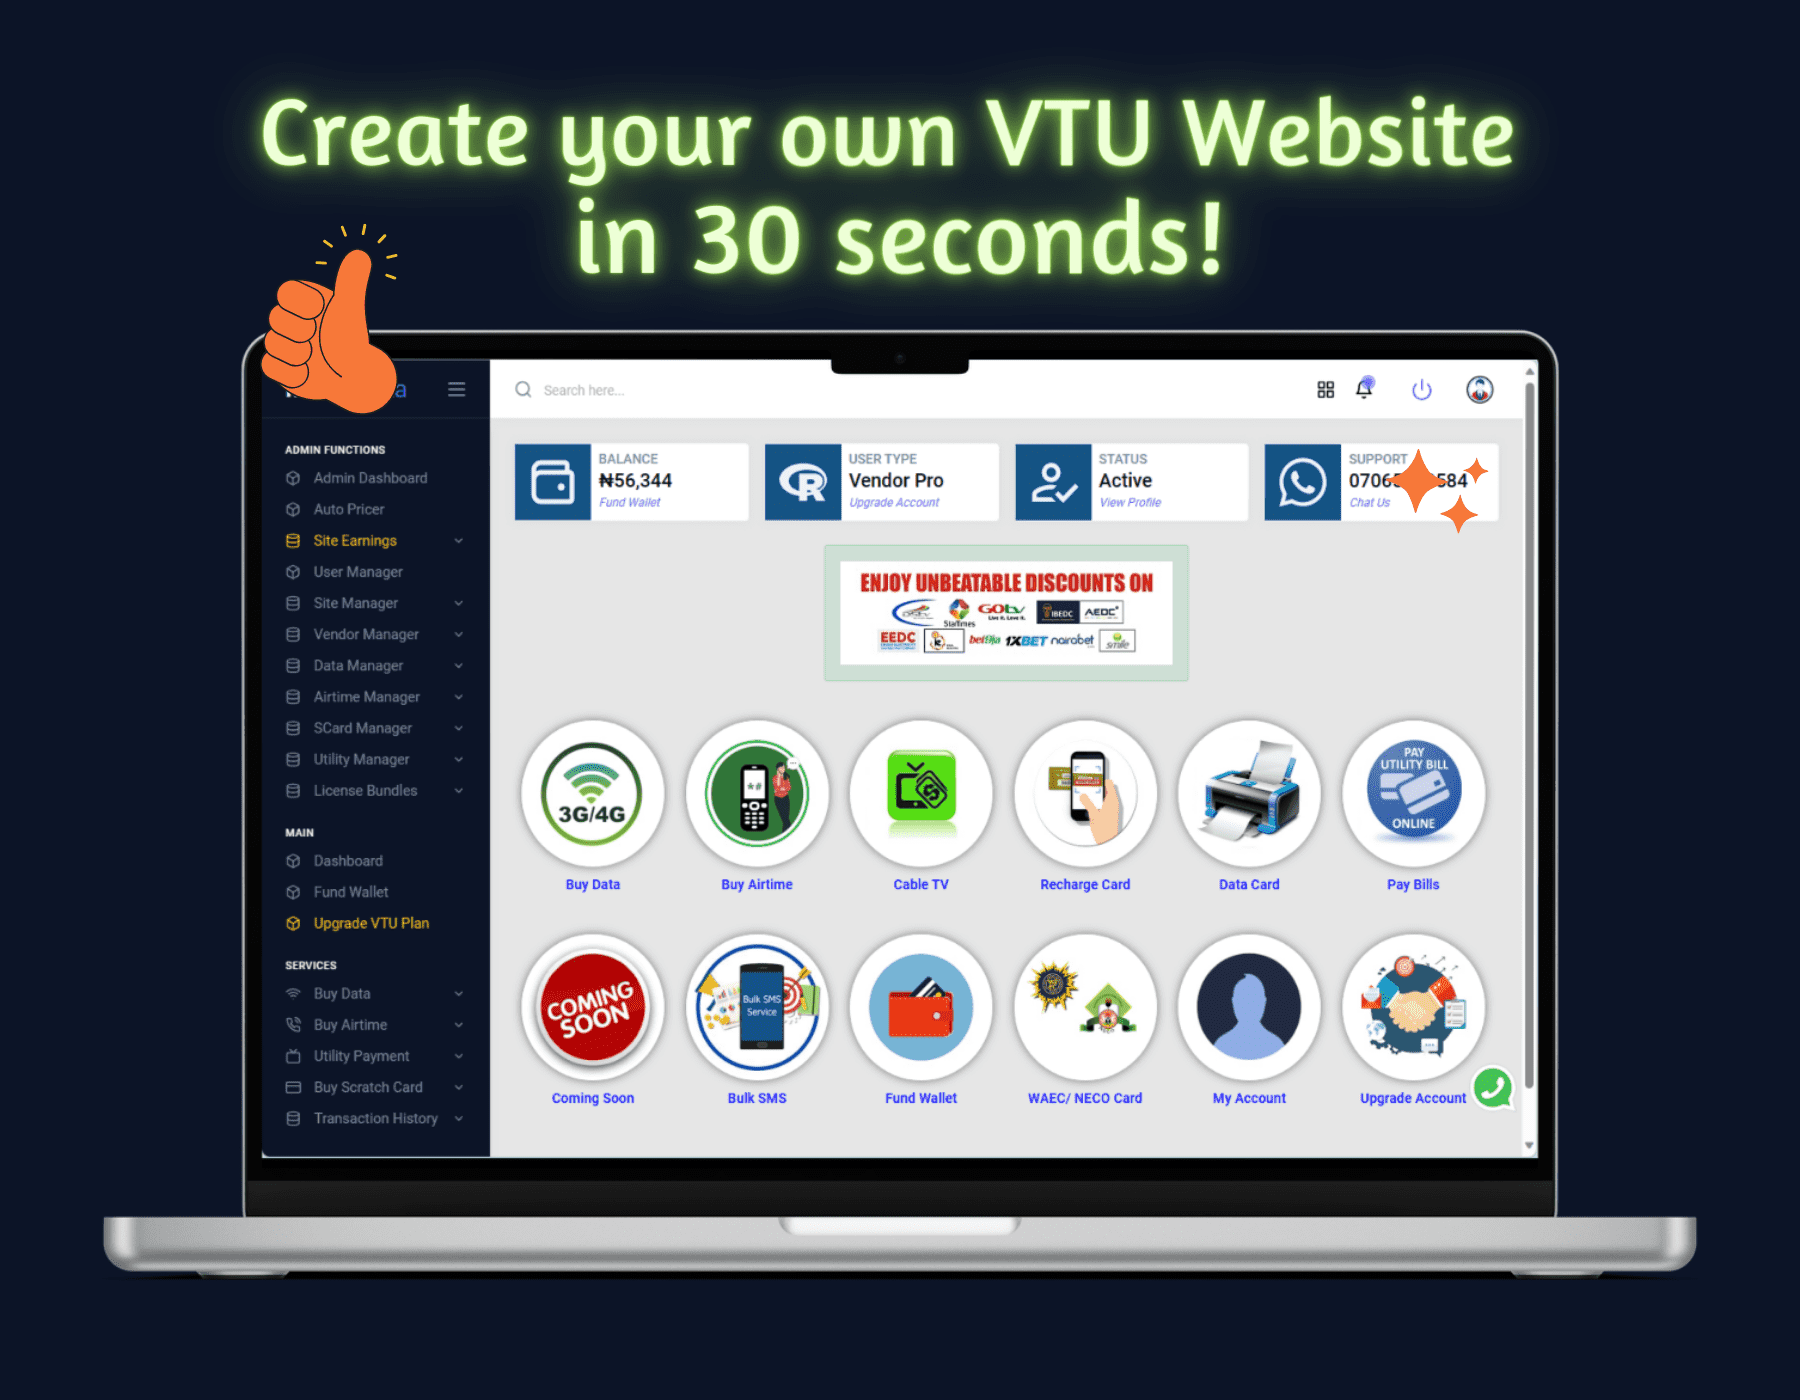
As mentioned earlier, our system seamlessly builds a fully-functional VTU website in less than 1 minute. Hence, after clicking on the SUBMIT button, your VTU website will be created and delivered to you instantly. Once you have received your VTU portal, take some time to preview it, master its functionalities, and make any necessary adjustments. Once you are happy with the final result, then you are good to go.
Congratulations! You have successfully created your VTU website in just a few simple steps. Now it's time to promote your website and start attracting customers to your VTU business. In subsequent, we will discuss some effective marketing strategies for your website. Stay tuned!
Suggestions for you
T-Mobile Home Internet: All About Data Cap and Data Pass Price
480 Views
Best International Roaming Plans in USA, Canada, Australia, UK
435 Views
Is OnePlus 7 eSIM Compatible? - How to Activate eSIM on OnePlus 7 Phone Models
533 Views
Top 3 Cheap Data Codes in Nigeria
300 Views

Free VTU Creator Software - Free VTU Script
4212 Views

Download the Best Free VPN for PC, Android and Chrome
96 Views
How to activate eSIM on iPhone 13 Mini, iPhone 13, iPhone 13 Pro and iPhone 13 Pro Max
175 Views

Top Free VPN Detection Tools Online
94 Views

Giffgaff Log In Not Working? Common Issues, Fixes and Giffgaff Contact Details
158 Views

All You Need to Know About T-Mobile International Roaming
297 Views